Showing posts with label die cutting. Show all posts

Monday, November 28, 2011

Christmas Applique Potholder

Hello!!!!!!!!!!  I have so much to share I don't even know where to start!!!  My college students are all done with school until January SO that means its time to catch up on my blog! yippeee!!!  I have been sewing, and I even went on a quilt retreat!!!!!!!!!!!!!!!!!!!!!!!  It was my very first quilt retreat and it was with all of my new friends at the Chicago Modern Quilt Guild!!!!

I've decided that the first project I'm going to share is my lovely potholder!


I was super duper excited when I heard that "Mr. T" (known to common folk as Miss Ebony's Studio Die Cutter) would be making an appearance at our retreat.  I had some precious time with him and cut out some FABULOUS shapes (!) including the snowflake applique on this potholder!  Yep, I bet you thought I lovingly cut out the intricate shape... nope, not even close.


I die cut the snowflake along with the fusible web and then ironed it on!  I did a tiny zig zag stitch around the edging to finish it off.  That was a bit tedious for my liking and without a walking foot or anything I was turning corners constantly.  If you don't look too close it looks great! ha!

After consulting with the many intelligent quilters in the room, I decided that my potholder would have one thickness of Insulbright (heat resistant batting) and one thickness of Warm & White.  I wanted my potholder to work!!!!

So I got my two insides and put them on top of (right sides together) my front and back.  I stitched all the way around leaving a 2 inch (or so) section for turning.


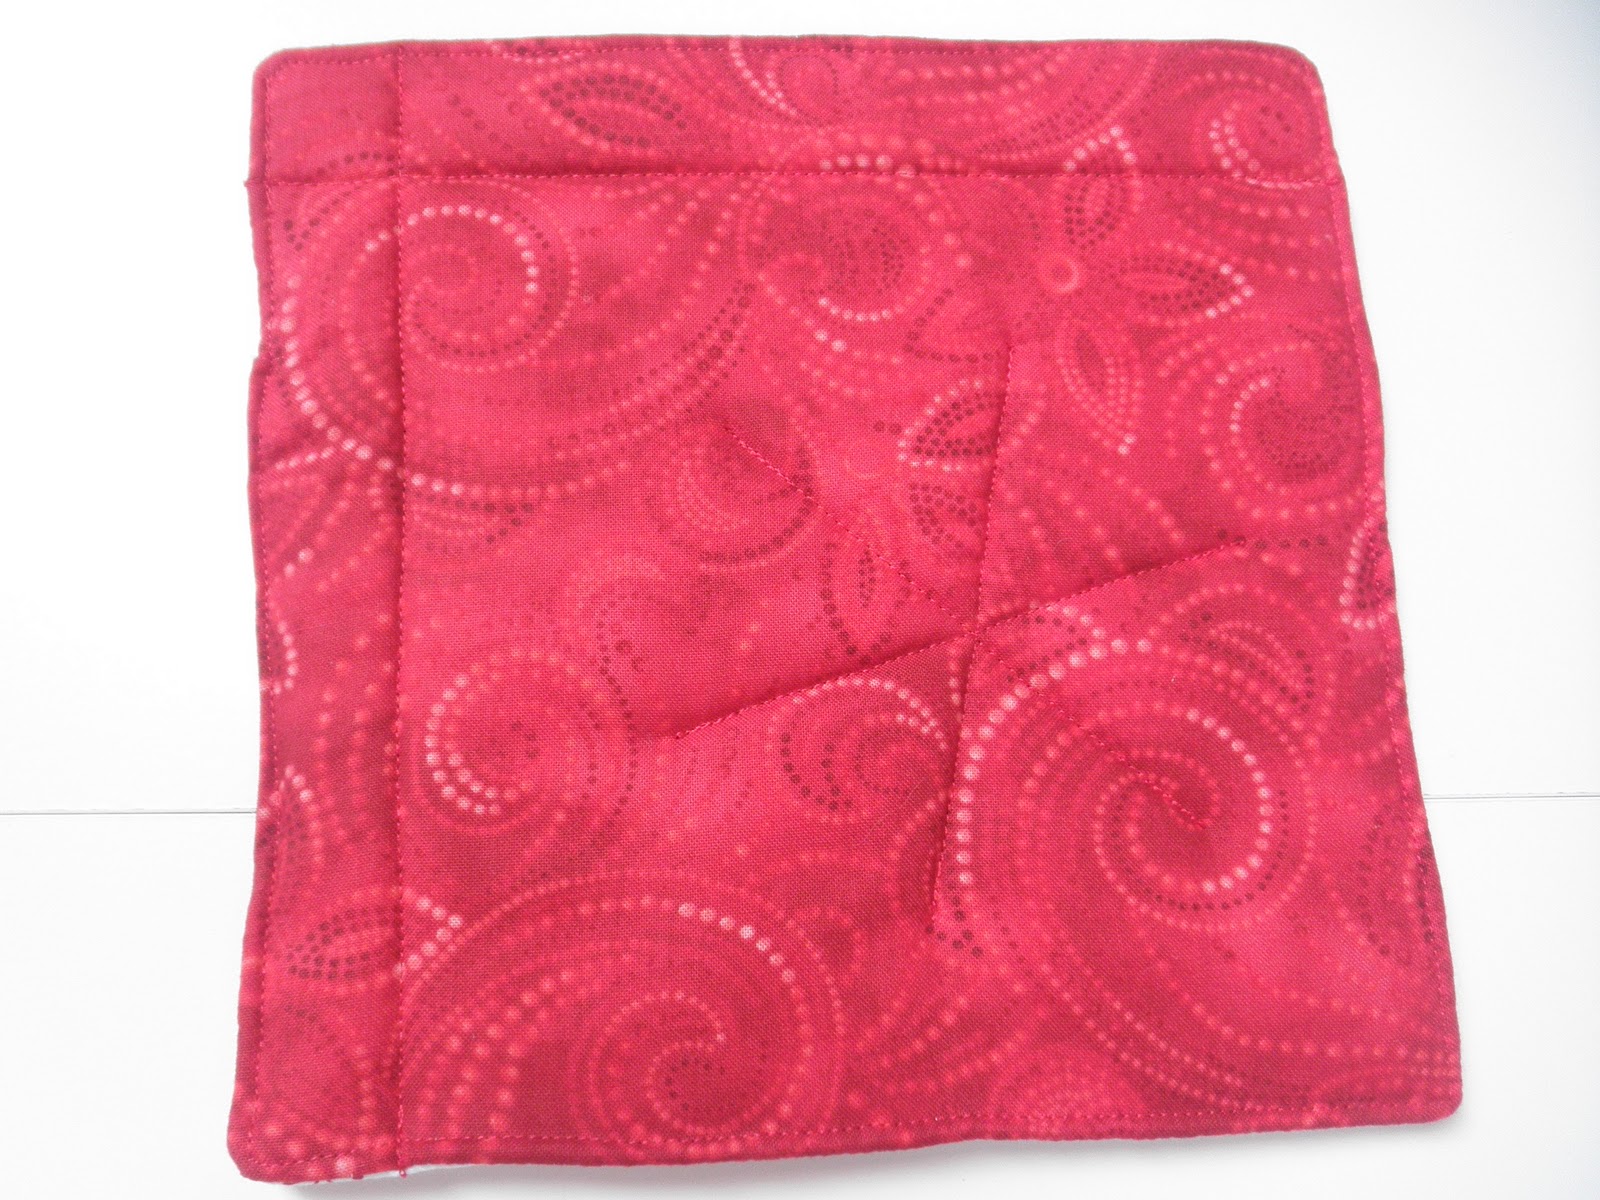
Then I trimmed and turned it inside out and top stitched about and 1/8" from the edge.  Then I quilted it a bit... a vertical line, a horizontal line and some inside the star.  You can see it in the picture below of the back.  I just love that red fabric!!!!  I definitely 'puckered' things a bit because of my lack of a foot that walks... teehee.  (side note: I just got my Gram's Janome Jem and it HAS A WALKING FOOT!  The rest of my potholders will not pucker!)


I cut these fun holiday shapes with Mr. T... and many more that aren't pictured!


This is a gift for someone for Christmas... not sure who yet, maybe me!?!?!  
Have a Happy Monday!!!!!!!!!!!!!!!!!!

Thursday, September 8, 2011

Shirt Refashion ~ Tutorial


 For this project I used an old t-shirt to fix up a another shirt I found at TJ Maxx!!!  I just love frilly flowers! (as if you can't tell from my blog....)


This is the 'before' picture.  This shirt was on clearance and I did wear it a few times.  Then the rhinestone in the middle fell out, and to be honest I always kind of felt like a clown in this shirt (the ruffles were a little much for me).  I like the material and how it fits so I decided to fix it up!


I cut off all the ruffles and took out all the grommets, etc.  There were a couple holes, but I'm not worried about it!


Lately in blogland the Accuqulit Go! and Go! Baby have been hot items.  Lots of giveaways and fun projects.  Of course, I found myself wanting and wishing I had one (I fell prey to the marketing)...  BUT THEN realized ... I have a Sizzix Big Shot.  DUH!  IT WILL CUT FABRIC.  (wahoo!)  An old white top was the perfect fabric for my white flowers! 


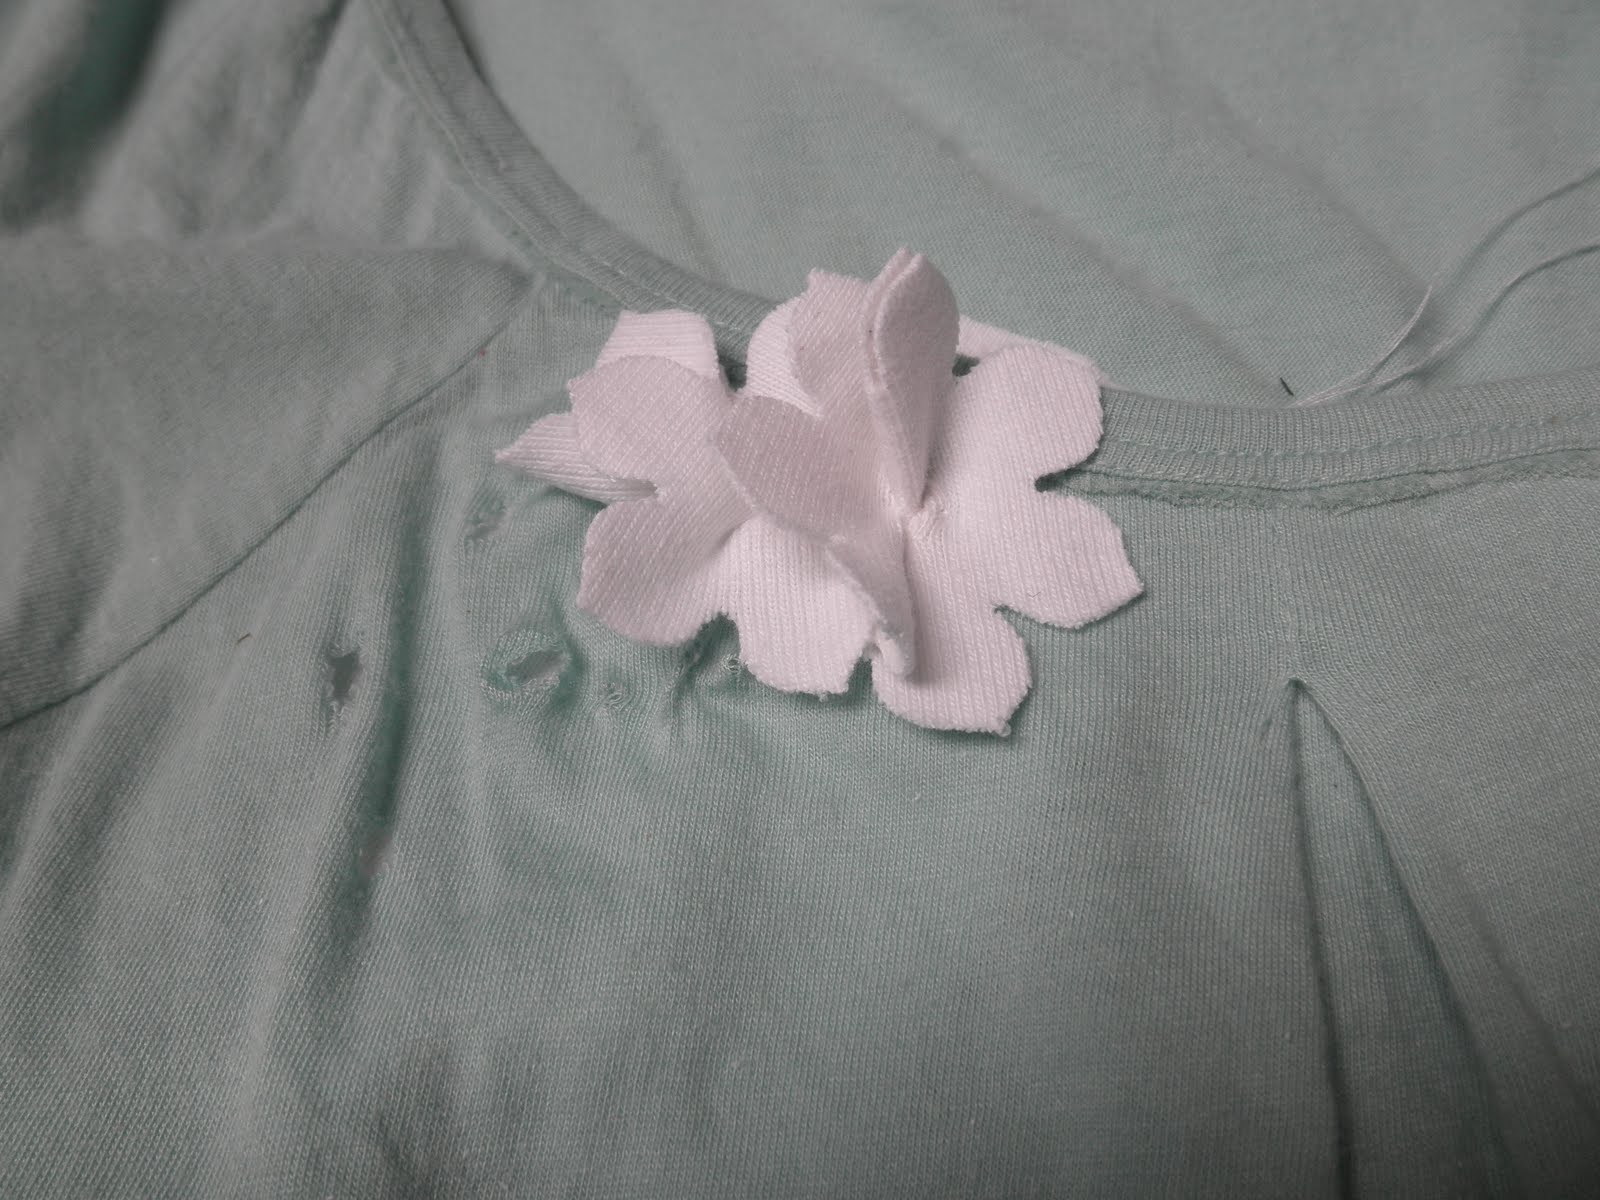
The flowers needed to have dimension for this project.  A few pinches did the trick.


I sewed a bit at the 'point' to help keep the folds and 'dimension'.


There was really no rhyme or reason to it!


Then I got crazy and made a few of the flowers with two pieces!


I left the thread on each so that I could sew them onto the shirt.


Initial placement.


I put a piece of fabric inside the shirt (behind the flowers) to use as stabilizer and it worked fabulously.  Two flowers sewn on!  I didn't knot them until all were on... in case I wanted to reposition any!


More flowers sewn in!


After I was satisfied with the placement I knotted all of the threads!  This is the back foundation piece.


Tada!!!!

Friday, June 10, 2011

My Somewhat DIY Wedding (part 5 of infinity) : THANK YOU CARDS


I really wanted to personalize everything for my wedding. I know that people spend a lot of time picking out gifts, and other people spent tons of time planning wonderful showers, etc for me. In an attempt to show some appreciation I decided to make all of my Thank You cards for my showers.

My friend Ellen helped me so much with this process. She is a Stampin' Up consultant and I ended up buying a Big Shot and all kinds of fun die cut stuff... not to mention tons of paper and ink (that I used for my invitations... for another post). Visit
her blog to see all the fun stuff she makes.

I bought packages of blanks cards and envelopes 50% off at JoAnn's. Then I used the Big Shot and cut out all of these awesome 'flower parts' using the "Blossom Party" Die Cut set from Stampin' Up. (Well, my sister did the die cutting...)

The parts look like this....

My lovely helpers and I just put them all together in fun combinations.


All that was left was stamping a little "thank you" stamp for the finishing touch. They were simple and cute!!!