Friday, September 30, 2011

Your Opinions Please!!!!

Hello Everyone!  If you read my blog from time to time you may have noticed that I got married recently... in March to be exact.  We had a great time!!!  I absolutely loved (and still love) my dress.  I honestly can't imagine getting it cleaned and storing it.... it would just be too sad.  I need it out where I can see it all the time.  It's a bit of a 'big' dress (ha!) so I really wouldn't be able to wear it again.  I'm thinking of cutting the bottom and displaying it in a shadow box?  Or making a pillow?  or a blanket?!?!?  AH!  What should I do!?!


The picture above is probably the best one of the flower detail on the train.

Had to put one in with the hubby....

All thoughts and ideas are welcome!

Thanks in advance!

Thursday, September 29, 2011

Bling Bling... PUMPKIN ! {with Tutorial}

Warning: Excessive amount of pictures below... proceed with caution.  
=)


Last summer I saw a pumpkin similar to this.  I almost bought it except it was quite expensive and I didn't really need it!


I decided that I would make one instead!  It's been a year in my brain, and I finally got around to it!  wahoooooo!


I'm super happy with the results... I just wish it hadn't taken so long...  my husband some might say I have a short attention span...


It's totally easy!  Here goes!


Here's my spooky picture of what you need!

~ Some sort of fake pumpkin... I bought one at JoAnn's on sale!
~ GLUE!  Good old Elmer's worked great!
~ Black Sequins (i used less than 2 packages that had 800 each... I think most are on the floor and my couch...)
~ Tweezers!  I actually used my serger tweezers because they are really long and easy to work with.


Draw your swirly designs on with a pencil!


more swirls


still more swirls


Then run a line of glue along your swirls.  
Use the tweezers to place the sequins on the glue. I tried to make sure that the concave side was up so that the glue would adhere better.


As you can see, I did not 'glue' very precisely.  Turns out the glue dries clear!  yippee!!!  No worries!

I really did use my tweezers to place each sequins individually... yep... I did like one swirl a day... maybe I do have a short attention span


One swirly all done!!!!


Continue this process forever, and then you'll have a beautiful
Bling Bling Pumpkin!


In hindsight I wonder if sequins that's ALREADY strung together would work... I mean its bendable, right?  Someone try that and let me know how it goes!


I painted the stem black with some Acrylic paint I had.  I wasn't liking the greenish hue with all the black sequins.


Have a GREAT Blingy day!!!!

Did you Make a Bling Bling Pumpkin??
Post it to my Flickr Group, Sew Divertimento Divas

Wednesday, September 28, 2011

Drawstring Bag Tutorial ! ~ IC 39

Iron Craft this week we were challenged to make something that will hold something else.  I've been needing a drawstring bag to hold all of my knitting for a while now.  I made this bag really 'tall' so that my knitting needles would fit!

 Here's a quick tutorial so you can make them too!  Drawstring bags are MY FAVORITE 'go to' bag!!!!  It only took me about 15 minutes to make this!  This is a great alternative to wrapping paper too!


I cut ONE piece of fabric for this bag.  The short ends are my TOP. 

sooooo you'll cut your fabric 2x the finished length by the width.  You also have to account for seam allowance and 2" per top side to create the channels for the string.

example:
If you want a finished bag that's {6" wide X 10" long} then you would cut a piece that's {7" wide (6" plus seam allowance) X 24" long (10"x2 + 4" for channels)}.  

Hopefully that makes sense!!!!


Serge around the entire piece to finish the edges! (If you don't have a serger just zigzag!)


Fold over one of the TOP edges (short edge) one inch and press (or if you are lazy, like me, you don't really have to press.)


Sew your channel down just on the other side of the finished edge.

Repeat for the other end!


Put right sides together with both channels matched up!


Sew down each side.  I use a 1/4" seam allowance.  Be sure to backstitch at the beginning and end.  I start sewing at the FOLD.  When you reach the top DO NOT SEW the channel.  Just backstitch right before it!!!

Repeat for other side, starting at the fold and sewing to the channel.


Bag turned inside out!


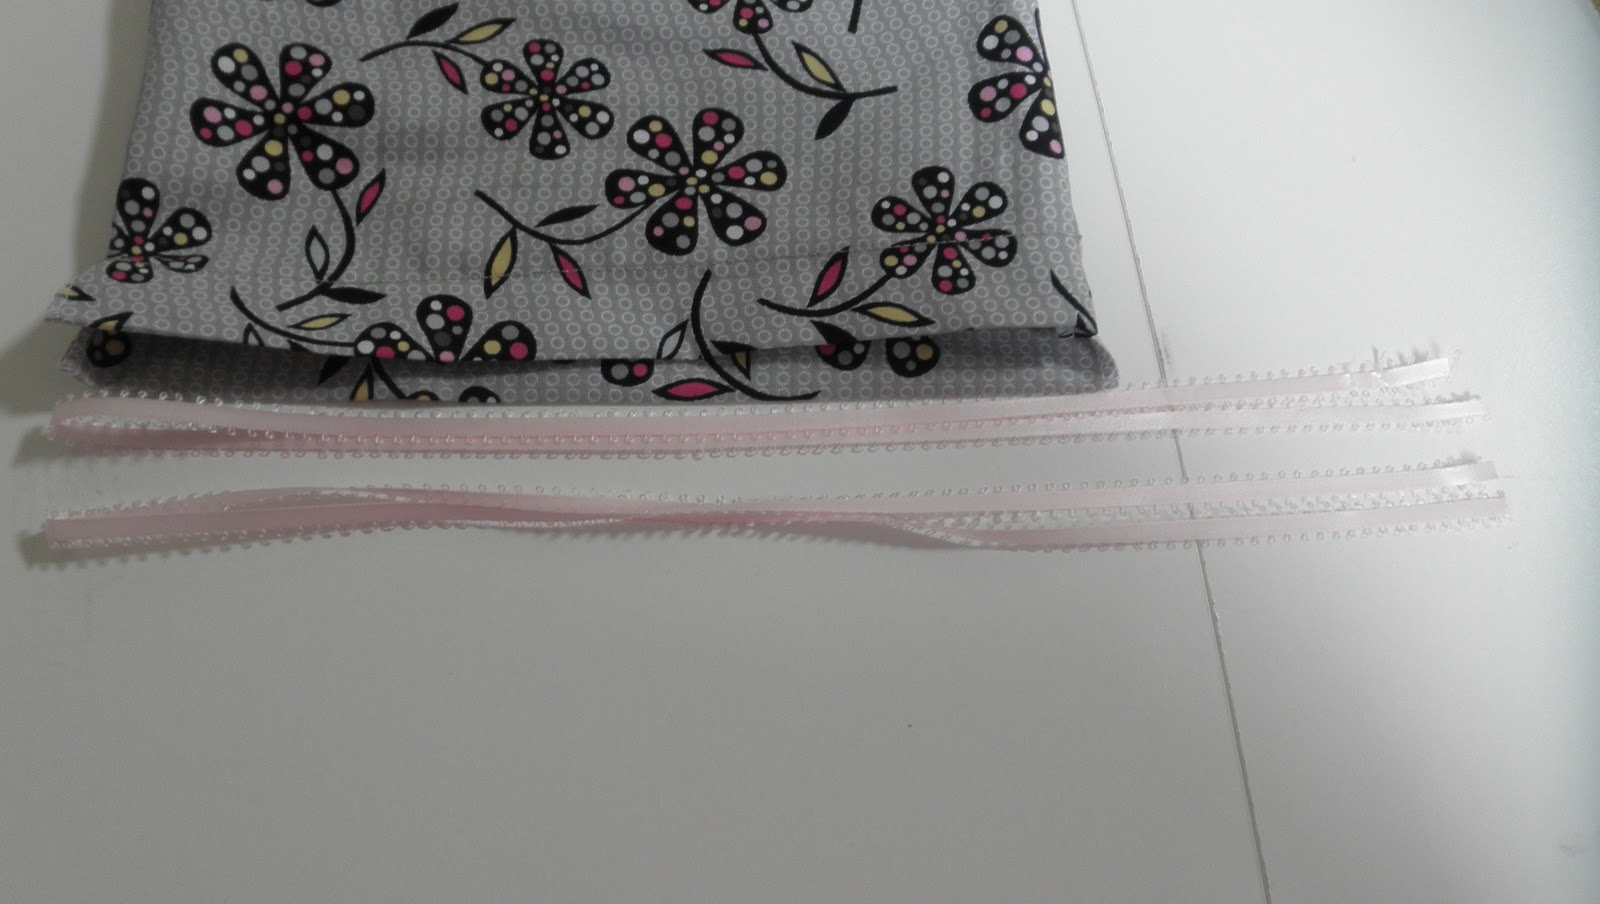
Cut two 'drawstrings' double the width and about 2-3 inches longer on both ends.  So if your width is 10 inches then your drawstrings will be around 26 inches each.


Get your trusty safety pin!


Feed through the channels!


Even up the two ends and tie a knot.


Take your other drawstring and start at the OPPOSITE end from the one you just finished!  (feed through and knot...)


Trim the edges of the drawstring and 'fray check' if you need to!


yay!!!  It holds my huge ball of yarn and my long knitting needles!


View from the inside!!!

=)

Sunday, September 25, 2011

A finish! and fun clippys!

The results are in and the Mini Log Cabin is now a happy Mug Rug!  I found some scrappy old fabric and sewed it all together (right sides together with some warm and white) and then turned it inside out and topstitched around the edge.  I'm very happy with the results!!!  =)


The back!  Lovely 90s rust and navy!  hehee

~~~~~~~~~~~~~~~~~~~~~~~~~~~~~~

I've been wanting to make pacifier clips for a while now.  I think they make great baby gifts.  There are tons of tutorials out there, and most just say to get suspender clips, or the clips you find at JoAnn's.  They are just wayyyy to 'claw like' for me.  Baby clothes are so cute!  Pacifier holders should be ruining their clothes! 


I hunted online (and I mean hunted)... and I found these in the Netherlands from KinderKlipz!  As a result, I ordered a ton so I wouldn't have to pay shipping again.  The quality is great!  And the cuteness factor is way high!  I can't wait to make some!  Ideas on leash construction are currently brewing in my head....


These have a fabulous plastic clip part so no clothes will be ruined! wahoo!


yes, I bought a lot!  =)

Wednesday, September 21, 2011

Black & White Music Quilt ~ IC 38

Iron Craft is so fun!  This week we were challenged to use black and white.  I decided to do another unfinished project from when I was in high school.  (I'm not sure if I'm bending Iron Craft rules by doing a UFO... I promise next week will have nothing to do with quilting and will be a brand new project!)  


I started making this wall hanging for a teacher of mine... then, sadly, I figured out that this teacher wasn't as supportive as I thought she would be.  Needless to say, I didn't finish it back then, and she won't be getting it now!  =)  


When I was younger and started to quilt I was always looking for the next challenge.  I very rarely used a pattern.  Most of the time I dreamed up ridiculous patterns and did not iron properly when piecing.  This wall hanging is a result... although I should say that I do like the design!!  I can tell you (because I remember how I used to think) that this started on graph paper and was a nine patch.  Then triangles were added because I think they are cool, and they are 'harder' than squares.  Then the nine patch was turned on an angle to allow more triangles around the edges.  If I had more time I'd rummage through my papers to find the design.... maybe later....

Please don't look to see if the corners are all perfect and matching, because they aren't!  The small squares you see are 1 inch squares.


I quilted it a tiny bit because I didn't want to take away from the piecing and the already 'black and white'ness of the quilt.

Added binding and tada! done!

I have to confess that I cheated a bit on the binding.  Normally I sew my binding onto the quilt top and do a hidden stitch by hand on the back.  Lately, as I read more sewing blogs, I've learned the awesomeness of topstitiching.  So I folded the back onto the front and topstitched all the way around.  All in all it worked pretty well, and I'm going to hang it in my music room!

Thanks for stopping by!

Monday, September 19, 2011

Baby Taggie Blanket ~ Tutorial

I have seen these ADORABLE taggie blankets all over the place.  I saw a few tutorials months ago, and I was too lazy to look them up when I made this.  I wanted to make one as a gift and (as usual) I decided to 'wing it'.  No joke, it took me about 20 minutes to make.

notes: These blankets can come in sizes ranging from 12 inch square to 20 inch square.  You decide how big!  I started mine with 16 inch square knowing it would finish a bit smaller.  If you go much bigger than 16 inches you should 'quilt' the blanket so the layers stay together. (You could just do two lines of stitching down the center of the width and the center of the length resulting in four 'squares'.)

Materials:
~ 16" x 16" Soft awesome fabric of your choice (minkie, flannel, satin... etc)
~ 16" x 16" fun print fabric
~ 16" x 16" Warm and White (or Warm and Natural) batting
~ assorted coordinating ribbons


I used this crazy soft fabric that's all swirly.  It feels like rabbit fur!
Cut your ribbons into different sized pieces.  They can range from 3 to 6 inches long.


Pin your ribbons where desired.  Be sure to match the raw edges of your ribbons with the raw edge of your fabric as shown!  (...notice how all of my pins are going in different directions...you should pin them like the two large ribbons on the bottom.  That way when you 'baste' the pins will be out of the way of your machine.)

note: If you are smart (i.e. not me) you will machine baste all of the ribbons to the right side of one of the single layers of fabric.  I was in a hurry and so I just left them pinned... it obviously took longer to sew together because I had to keep stopping and lifting up my other layers to find the pins hidden below.)


Layer your Fabrics as shown above.

Bottom layer ~ Right Side Up ~ Fabric with ribbons attached
Middle layer ~ Right Side Down ~ other pretty fabric
Top layer ~ Batting

EDIT Nov. 2013:  I have not made a ton of these and I would suggest changing the order a bit.  Minky is always annoying to sew with so I've been putting the Minky and in the middle.
Bottom layer ~ batting (this will agree with your feed dogs much better!)

Middle layer ~ Right side Up ~ Minky with ribbons attached
Top layer ~ Right Side Down ~ Pretty fabric. (this will also feed nicely under your presser foot)

As long as your pretty fabric and minky are Right Sides Together you will be all set!


Sew around the edges using a 5/8" seam allowance.  Make sure you are grabbing all layers.  LEAVE A THREE INCH hole in which to turn.  note: If you want, you can backstitch over each ribbon to make sure they are extra secure.

Trim seam allowance to around 1/4".
Clip corners.
Turn and use a bone folder or knitting needle to push the corners out.

Now it's all cute and puffy (shown above).


Topstitch with matching thread all the way around.  You should aim to sew 1/4 inch away from the edge.  Carefully pin your 'hole' and topstitch over catching all fabrics to secure.


Other side all topstitched


Oh, both sides!


Rolled up!  =)  I mean really? how cute is this!?!

Thanks for stopping by!

I would love to see your taggie blankets!!!  Post them to my Flickr Group!!
Sew Divertimento Divas

~featured on Sew Happy Geek~