Wednesday, August 31, 2011

Versatile Blogger Award !!


Becky @ Buzzy Bee Creations awarded me the awesome Versatile Blogger Award.  How fun is this??  Thanks so much Becky!!!!!  =)  It put an extra smile on my face today!

Three rules after accepting this award:
1.  Thank the person who gave you the award and link back to them in your post.
2.  Share 7 things about yourself.
3.  Pass this award along to 10 recently discovered blogs.

Ok, here goes.

Thanks Becky!!  I found Becky on a Linky Party, and I can't WAIT to make her Zucchini Apple Muffins!

Things about me....
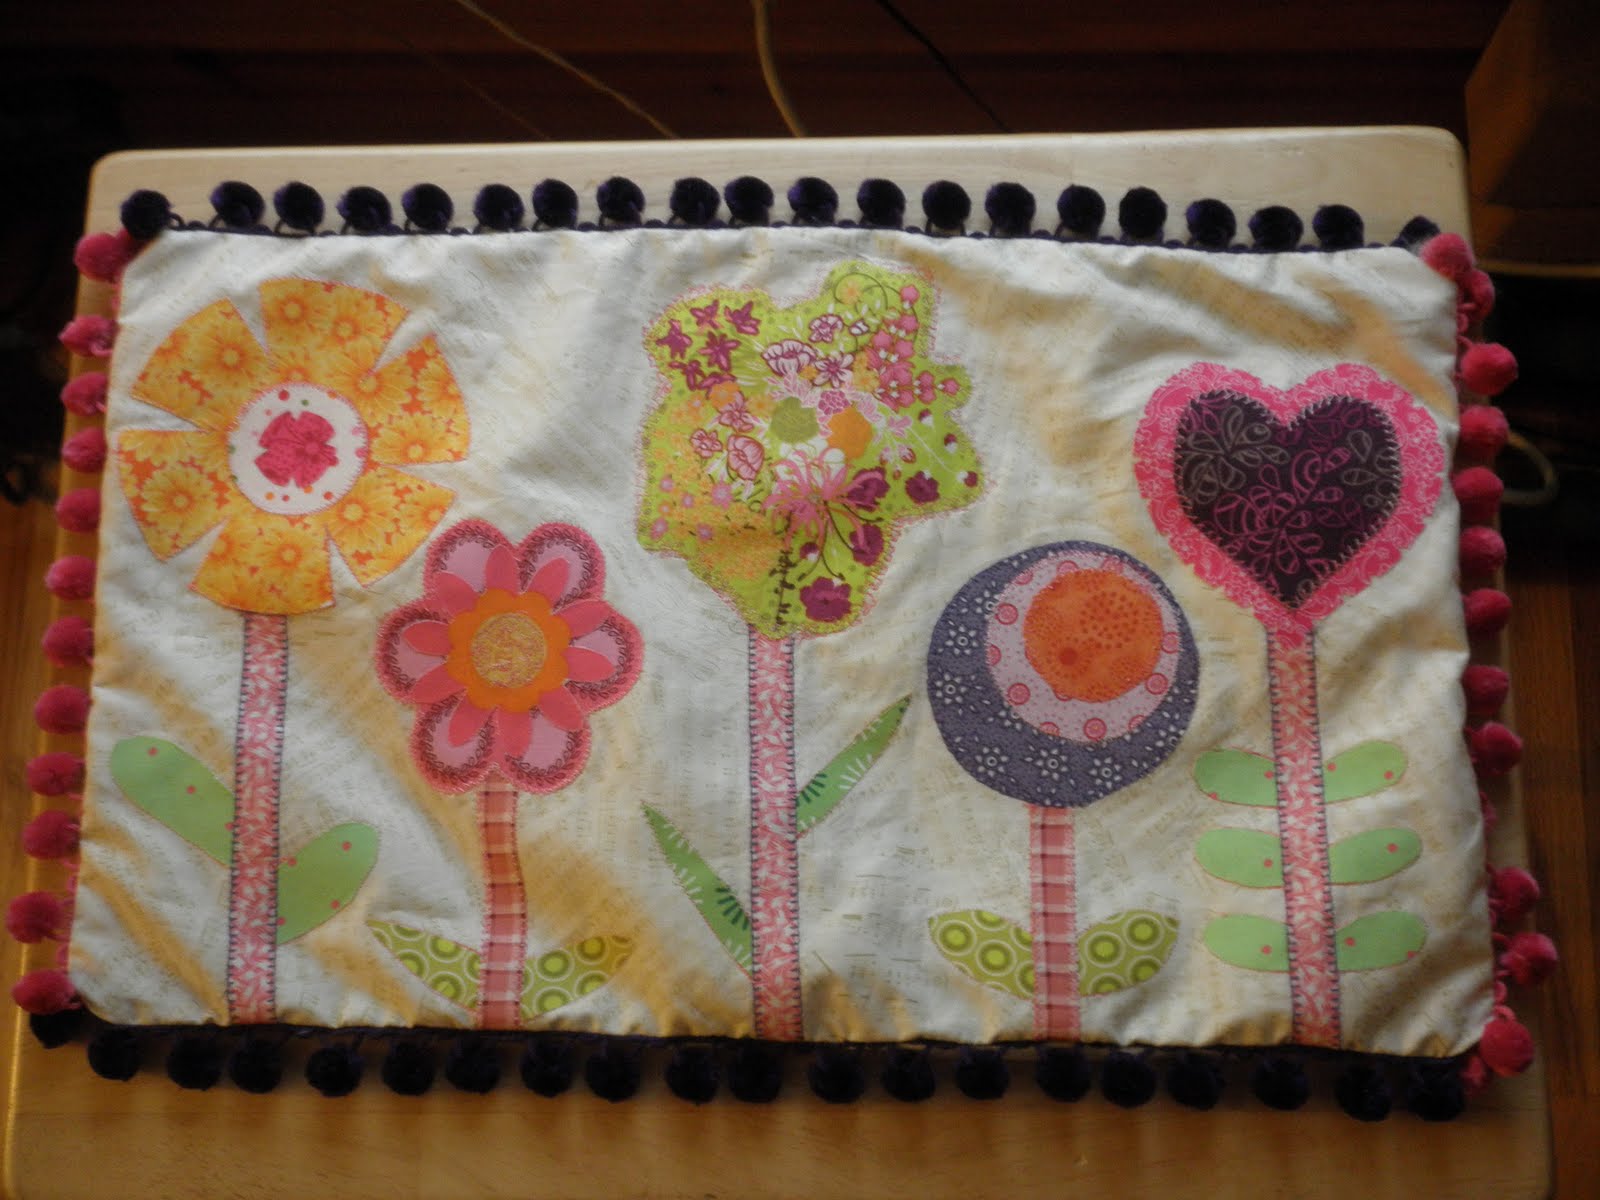
1.  I dabble in all crafts, but quilting is my very favorite (although I still have never made a full size quilt!)
2.  Swing Dancing is another one of my {many} hobbies.
3.  My husband grocery shops and cooks for us (!)  He's the best!  (I don't mind cooking, but I HATE the grocery store...)
4.  My craftroom is the 2nd biggest room in our house, complete with skylights and a cathedral ceiling.
5.  I LOVE Opera.  Watching, Listening, Performing.  It's my favorite!  I'm partial, of course, to the Lyric Opera of Chicago.
6.  I'm addicted to Diet Coke.
7.  I would live in the North Woods of Wisconsin... except they have no professional orchestras for me to play in!

I'm going to pass this award along to these fantabulous inspirational bloggers! 
(In order of most recent to 'longtime' blogger buddy.)

Reed Sisters @ Babblings and More
Sharon @ Craizee Corners
Heather & Megan @ Quiltstory
Karima @ Karima's Crafts

Have a Wonderful Wednesday!

Flirty Flower in a Shadow Box ~ Iron Craft 35

Iron Craft is so much fun!  This is my third week, and I find that it helps me to 'think outside the box'.  =)  This week's challenge was "Done Reading?".  My husband is a huge book nerd, and I'm a sort of book nerd.  That being said, it was hard for me to ruin a book to create something new... I know it sounds weird, but its the truth!!! 

We JUST donated a ton of books to Goodwill last week, so where was I going to get my book?  Then I remembered that there were still some Romance Novels hanging around.  I thought... that might be kind of fun and silly!!!


I started by just randomly making paper flowers, etc.  I folded them accordion style.  Then folded that in half and gluesticked the sides together.


On the one above I cut a rounded edge on the ends when they were smashed together (like making a snowflake).


An attempt to make a wind up rose.  It should have been thicker....


Still looks cute though!


Colored the creases pink for fun.


Fan flower with blue in the creases and its own stem.


Horizontal words look better.  This one was also folded a thin width.


A new idea...


And now the actual project.

Flirty Flower in a Shadow Box


My husband came in when I had all of these flowers on the table and I wasn't sure what to do with them.  He immediately said "put them in a shadow box!"  DUH!!!!  Because of his genius I let him pick the button.  =)


A fuzzy'ish' picture of the words in the 'grass'.  It's entertaining if you want to zoom in.  Over 18 only please (lol).


A fun, flirty, project.  =)

Sunday, August 28, 2011

Pay It Forward

This is such a FABULOUS idea!  I love these sorts of random "feel good" activities!  =)  I read about this in my reader and figured I was too late to be a part of it, but I was just in time!

I saw this post on Sharon's Blog : Craziee Corners, and so I entered the fun.

Since there are quite a few awesome people that are part of this I thought it would be fun to link to their pay-it-forward posts.  Check out their blogs! =)

 Selina from Sew It Up 
Christine from Creations for Eleanor was the one that
Sharon (above) commented on!

Phew!  I think that's all of them.  They all have such cute blogs!  =)

Here's the scoop!!!!

1. I will make a little something for the first 3 people who comment on this post. It will be a surprise and it will arrive when you least expect it.

2. I will have 365 days to do it in. What's the catch? To get a handmade present from me, you have to play too! This means YOU pledge to send a little handmade something for 3 readers of your blog. It doesn't have to be quilty - just handmade!

3. You must have a blog.

4. Once you comment here, you must post about your Pay It Forward on your blog to keep the fun going - with the Pay It Forward badge.

Who will be my 3?  I can't wait to find out!  =)

Amanda created a Pay-It-Forward Flickr Group that you can access 
by clicking the badge below.


yay!  Have a great week!

Friday, August 26, 2011

Helpful Project

My sister recently started a new job as a special education teacher.  One of her students requires a bib when she eats at school.  They did not have enough for her so I offered to make a few.  I knew there were some awesome laminated fabrics out there!!  My sister wanted it to go all the way down onto her lap.  I have one finished and the other three are almost done.

Pinned up with right sides together and strap ends peaking out!
I found some FABULOUS Kaffe Fassett laminated fabric at Thimbles in Lockport.
With its 58" width one yard made Four 36X13ish bibs!
 
I got terry cloth from JoAnn's (definitely used a coupon), and put that on the back.

Long View, Pinned up with right sides together.  ON MY NEW SEWING TABLE!!!  *squeal*
To make the scooped neck I traced a protractor and cut it out!  =)


The terry cloth scraps turned out to be perfect for straps.  To finish off the strap 
edges I used my good old serger!  After some velcro is sewn on they'll be perfect!


After I turned them inside out, trimmed, clipped corners/curves I topstitched along the edges.  Let me tell you what......  Laminated fabric definitely STICKS to your presser foot.  It was NOT very fun.  I did not take close ups to show you my very uneven stitches.  Finally, I put my feed dogs on low and released a TON of pressure from my presser foot.  It started to work better.  I might just finish the other 3 on my mom's machine since it has free motion quilting capabilities.... depends on if I decide to leave the house this weekend!  =)  (All in all it wasn't that bad... just not the smooth sailing I thought it would be!)

Since it is so long I sewed a 'quilting' line the width of the bib every 7 inches to 
keep the fabrics from pulling apart.


TADA!!!!  =)

Wednesday, August 24, 2011

(Pretty) Car Garbage Bag with Tutorial ~ Iron Craft 34


It was hard to decide what to make for this week's Iron Craft.  It had
to be something having to do with travel.  Well, as of a couple days ago
I decided to not buy any more crafty stuff..... Someday I'll show you
pictures of my craftroom and you'll understand....

I didn't have any 'travel' 'transportation' fabric so I thought I would
make something for my car.  I definitely need a garbage bag to hang on
the back of my seat!!!!  =)

Last week I bought this home decor (canvas-like) remnant at JoAnn's 
for 50% off.  It was the perfect piece for the project!

Here we go!

What you need:
~ Rectangle of fabric  (Mine was 35inches by 13inches)
EDIT: Heavy fabric like canvas or home decor would be best because there is no lining for the bag.
~ Strip of fabric for handle ~ 2 inches by 14 inches or so
~ Clip ~ like one for suspenders
        OR  
   Velcro (I just didn't have any on hand)
~ Optional ~ Boning
~ Sewing Essentials

 Note ~ I am NOT a fan of cutting more pieces than I need.  That's why I use
one long rectangle rather than two pieces.  You'll be finishing the top edges
and then sewing the two side edges.  The fold will the be the bottom of the bag.

1. Finish your short edges (the ones that will be the top of the bag).
I serged mine.  You can also fold over twice and topstitch to encase
the raw edge.

2.  Take the piece for your handle and, with right sides together,
sew the length of piece using a 1/4 inch seam.

ohhhh, Andrea's learning to take pictures.....

3.  Turn your handle inside out using a pin at one end and
pushing it through.  Press handle.

 4. Put one of the ends into the suspender clip.

5.  Fold it over twice to enclose the edge.
(I don't know why I didn't serge the edge! ah, well)

6.  Sew down the end!!!!

My not-so-pretty sewing.  At least it won't come off!

7.  Boning!!!  I did a bit of research before deciding how
to make this bag.  I saw a few online with boning.  What a great idea!
In the spirit of not going to the store, I used some boning from an old bridesmaid dress!!!!  =)  I felt so resourceful!  =)  

8.  Depending on how thick your boning is, you'll need to prepare
the edge.  You'll be placing the boning in ONLY the front part
of the bag.  (opposite the handle.)


9.  Fold over the edge that will have the boning and sew down to
make a channel.  Double check that there's enough room to fit
your boning!

10.  Slide the boning into your channel!!!  The boning itself should be
1/2 inch shorter than the entire edge to allow for s ewing the edges.
(1/4 inch on either side)


11.  Fold over the opposite edge and sew down to finish the edge.

12.  Attach the handle about 4 inches from the edge (not the boning edge).

13.  No picture ~ Put right sides together (Line up your short edges)

and serge the pieces together on both long ends.

14.  Topstitch next to the serge stitches to reinforce!

15.  I like bottoms in my bags so I made corners!  (optional)

16.  Instead of cutting off the edge I serged it off!  =)

Turn the bag inside out and voila!


Will you make one?   If you do...


~ featured on One Pretty Thing ~

Monday, August 22, 2011

Fabric Postcards ~ CMQG

Sunday was an awesome day!  I was able to attend my very first meeting of the Chicago Modern Quilt Guild.  Everyone was so welcoming!  It was definitely everything I was hoping for...excited quilters, great ideas, and fun, fun, fun!  

We all had a great time making fabric post cards.  The one above I finished at the meeting.  I brought some scraps left from the Frolicking Flowers Pillow, and a fussy cut flower!
 
It was simple and quick.  We used peltex as the base.  I foundation pieced all of my scraps and then embroidered with fun stitches.  Lastly, I sewed my mini quilt to the cardstock post card.  You can find printable post card templates online.  I know what you're thinking, and YES they do go through the actual mail!!!

I can't wait to make tons more!!  =)

Sunday, August 21, 2011

Fabric Puzzle!

Pardon the dark pictures... the rain was annoying!

I saw this project on Craftiness is Not Optional.  You can get the tutorial here.  I love the fabrics that CINO used!  I wasn't sure that I wanted to use regular repeated patterns.... I was thinking they might be too hard since there's no real border for these puzzles.
The blocks were from Casey's Wood Products.  I used the 2 inch cubes/blocks and I ordered enough for four puzzles (figured I'd need them and then I'm only paying shipping once.)  I looked around and Casey's was the best price I could find.  The blocks were smooth and a good weight.  They were not all exactly the same size, but it didn't really matter.... just had to trim fabric here and there.
This one is a bit difficult to put together, but puppies are fun.
I was so excited to find some fabric panels and fabric story books to use as the puzzles.  I think they worked out great.  My sister helped me!   She used the foam brush and put the decoupage on the blocks and I put the fabric on the blocks.  It was a great system!  Instead of pressing the blocks down with my hand, I used a white sheet of paper.  It helped to keep my hands from getting too sticky.  =) 

LOVE the Pokey Little Puppy!
After it dried I did another coat of decoupage a few days later.  This sealed in any loose ends and put a nice finish on the blocks.  


I just couldn't resist Paddington Bear!  I wrote the message using a fabric pen and sealed it with my iron.

AND then you have 6 puzzles in 1 !  =) TADA!
Of course, I had to make a cute drawstring bag to hold all the blocks.   It's functional in that it can always hold the blocks, and it's $$ saving because I didn't need to wrap it!


Drawstring bags are really easy ~ I'll post a tutorial soon!

ttfn!


Saturday, August 20, 2011

FNSI ~ My Most Favorite Project EVER!

 Friday Night Sew In ~ August

 My Beloved Pillow for my niece!!!
"Frolicking Flowers"

Long ago on this post you saw my pillow inspiration.  Then on this post you saw bits of the beginning of my process for making this pillow.  NOW, it's finished and I almost don't want to give it away because I love it so much.  At least its going to my niece so I can visit the pillow every so often.... (am I crazy?  some of you probably understand....)


While watching Desperate Housewives on Hulu I had a great time 'auditioning' fabrics to be my flowers.  I switched it up quite a few times.  Then (because I was too lazy to go upstairs and get my circle cutter, sorry Cheryl) I used different sized glasses to trace all of the circles for the flowers.  Below I'll show you each flower and how I created it.  (I tried to take pics with my iPhone and they didn't turn out.. hubby had the camera.)

Amidst all of this fun my sewing machine tension went wacky.  It's an older machine and I LOVE it, but I'm pretty sure I messed the tension up on the last project I did.  whoops.  Luckily my mom has a very fabulous and portable Bernina...oooohhhhh!  She's so sweet because she let me borrow it!  I had TONS of REALLY awesome embroidery stitches at my disposal!!!  (My machine doesn't do embroidery.)  I definitely stayed up way too late playing with all of the stitches and finishing the pillow.
 Without the pillow inside.

Of course, I'm not sure that a 3 year old is going to be super excited about a pillow.... For a while I was thinking about how I could make this even more fun for her.  Then I remembered Lori Holt and her brilliant use of pom pom trim on her fabulous aprons.  That was the ANSWER!!!  My niece's room is purple and pink.  I couldn't decide which to get at JoAnns so I bought 2 yards of each.  When I got home I still couldn't decide which one.... so I used both!!!!!!!  =)  Afterall, I make the rules, right?

Did I mention that I love this pillow?  

 
Flower  #1 detail 

I appliqued all of the flowers using steam a seam.  Love it!  It's all machine embroidered with my mom's machine as I described above.


Flower #2 detail.  That's two pieces appliqued on top of eachother. 

The center of the flower

Flower #3 detail
Don't you just love this fabric?  I was having a hard time making a flower for the center one.  While staring at my fabric this one really stood out!  I realized how perfect it would be for its own flower!! 

The embroidered edge.

It was difficult to figure out how to embroider this print.   I almost just left it as a raw edge, but then decided it needed something.  I think the wiggly stitch turned out pretty well.

 
 Flower #4 detail

I just loved these circles!  It was fun trying different combinations of fabrics for each of the circles.  =)

Flower #5 The heart!

The 'inspiration' pillow had a scalloped edge heart.  I just thought that was too much work and I didn't have any cool ribbon.  I just cut some 'v's out of the edges to give it some texture.  The fabrics are such great colors too!

 
I really liked this stitch!  =)


I used the same stitch for all the stems and then I outlined all the leaves with a straight pink stitch. 
To finish the back of the pillow casing I made an 'envelope'.  Two pieces of fabric were used and they had a  3 inch overlap.  A couple of small snaps make it all stay together.  The pillow is for a child, so I wanted to make sure that it could be taken off and cleaned.  

I made the actual pillow using muslin.  The stuffing was from a pillow that I didn't like any more.  It was hardly used and the stuffing was like new.  Saves me from buying a pillow form (way too expensive.)


 It was a really rainy day this morning so I had trouble getting really good pics.  You can see the rain on the window in this one!  =)  The sun is out now, but my niece already has her pillow!  =) 


Thanks for stopping by! 
Tip Junkie handmade projects

Fresh Poppy Design