Showing posts with label baby. Show all posts

Friday, December 6, 2013

Another Taggie Blanket!

Howdy!
Taggie blankets are by far my favorite baby shower gift.  (can you tell?)  This one is for my best friend who lives in California.  Her daughter's name will start with an "M" hence the "M" applique.  However, I wasn't really thinking and now looking at the picture it looks like "W" and "M".  I should have angled both letters and had the top of the "Ms" closest to the center.  Oh, well.....


I asked what colors they liked and they came up with pink, turquoise, and grey.  HOW FUN!  So I used my very favorite Kona solid.... I can't remember the name of the grey, but I just can't get enough of it!!!!  I found the flower fabric in my stash.

I almost put the letter on the grey, but then I remembered the jar of yo-yos I had.  Don't yo-yos make everything better????   I think they do!  I don't know how they'll hold up in the wash, but at least it's cute now!!!


I hand stitched the yo-yos on.  In a brief moment of stupidity I thought that I could machine sew them on and have them look good.... not the case.  ha!

I LOVE doing the blanket stitch now!!!  I have a clear applique food (#39) that I just ADORE.  Also, I put the needle all the way to the rightmost position which makes it soooo much easier to ride along the edge of the fabric!  (That was a very helpful tip from the applique class I took at Thimbles.  Thanks Tory!)


There's just no reason to make a taggie blanket if you aren't going to put minky on the back!!!  Don't you love how I'm always making things last minute and I don't even take the time to clean off the 'trash' on my cutting table?  Oh, well.  Someday I'll be organized!!!

Do you want to make a taggie blanket?  Check out my tutorial here!

What do you like to make for baby shower gifts?

ttfn,
Andrea

Wednesday, November 27, 2013

Taggie Blanket & another Pillow


We all know that I just love making taggie blankets.  They are so fun and happy!!!  I made this one for my best friend's new baby.  I added his initial for fun.  I am just loving applique right now!!!!
 

Since the taggie blanket is really only around 16" square it doesn't really need quilting.  However, I tacked down the center and a few other places using some fun stitches.
 

As always, minky on the back!!!  =)
 

My blanket stitch works like a dream.  Also, I love my new applique presser foot.  It is clear and short and fabulous.  By putting the needle all the way to the right I can get the most perfect blanket stitch ever!  (That was a valuable tip I learned from the applique class I took last month at Thimbles!)
 

Do you want to make a taggie blanket?  Well then visit my tutorial here!!!
 

I also made a "big brother" reading pillow for the new big brother in the family.  He's 3 and just loves the movie Cars.  I found this minky type fabric in the remnants bin at Jo-Ann's.  I grabbed a 27inch pillow form and make a huge pillow!  It was a big hit!!!

Monday, May 7, 2012

Baby Shower Gifts

Hello Everyone!
School's almost out!!!  My dog is behaving!!  It's time to start crafting/blogging again.  I have been making things... just haven't had the time to post.  Today I have some shower gifts to show you!  A good friend of mine is pregnant with her first baby and she and I are both musicians.... I found some very cute music fabric!  =)

Burp Cloths


These are made with flannel on one side and chenille on the other.  After looking through many tutorials I decided on the size of 8 inches by 18 inches.  I simply sewed them right sides together, and rounded corners.  I left a hole for turning.  Turned them inside out and topstitched!  wahoo!


I know its kind of a 'pukey' green color, but I couldn't resist the monkeys!  I figure if he pukes peas on it then it will match.  =)
 

Pacifier Clips


I think I finally figured out how I want to make these.  I basically did the same thing as I do for my tote bag straps.  See the tutorial here.  I did put some interfacing inside for a bit of stability.  I also basted the loops before folding all of the fabric up.  I cut the fabric about 10 inches by 3-3/4 inches.
 

I love these clips!  They are plastic coated on the inside.  I completed the finished strap, slid the clip on and then stitched it down.


I think they came out pretty well!!!

Taggie Blanket


I whipped up another Taggie Blanket.  See my tutorial here.   I bought this adorable panel this summer.  I was very excited to use it.  I sewed some mustardy fabric I had to frame the panel. 


Blue swirly soft furry fabric for the back always works perfectly.
 

Yes, the pictures were all taken in a hurry.  It was raining so my skylights didn't help with lighting.  AND I didn't have time to clean.  yuck.  Someday my craftroom will have a photography 'area' or something.....

It's still rainy today.  Seems like a good day for sewing!
Toodles!

Sunday, October 9, 2011

Knit & Crochet Dishcloths


On our Honeymoon we went to breweries annnnnnd quilt / yarn stores!  hehehe  At one really cool shop in Colorado I bought some beautiful yellow organic cotton yarn.  I intend to use it to make facecloths and baby washcloths for gifts.

I've never really made any before so I bought some (much cheaper) Bernat cotton yarn on sale at JoAnns.  I wanted to try out patterns before using my 'good yarn'.  
On our mini roadtrip last weekend I crocheted/knitted a few.

What do you think?

They were all pretty easy, but I learned that I crochet faster than I knit. huh.
 

 The one above seems to be the 'favorite' of people who make these.  It's called Grandmother's Favorite and can be found here on ravelry.  This knits up really quick.  I mistakenly did it first with a size 6 needle.  It was a little small and just too tight to knit.  I made another using a size 8 and it worked much better.  I think I could even use a 10 and still be happy with it.  It's soooo soft.  I'm excited to try it out!
 

The orange one is crochet.  It has an 'x' in it that makes it a bit nubby.  You can get the pattern here on ravelry.  It's a decent sized washcloth.  It's also pretty thick.
I would make it again for sure!


This is definitely the pattern that I'm going to use for the baby washcloths.  It's call the "Oh So Soft Baby Washcloth" and you can find it here on ravelry.  It's crochet and soooo fast.  I think it's pretty, and not too stretchy.  It also has just enough 'nub' and thickness to it.  I gifted this one to my sister and she's going to report back.  I made another one really quickly (out of the organic yellow yarn) and gifted it to another friend who is also going to report back.  {I gave it to her right after I finished it... so sorry there's no picture!}  I'm interested to hear how much they shrink in the wash.


 I think I liked making this one the best too... that's why it gets more pictures.


Close up!


I also made one more.  The picture didn't turn out during the day, and so that's why this one was taken at night!  It it very nubby. 
 
 {nubby close up}

It's so cute!!  I do wonder how the 'nubs' will hold up over time.  This one is also crochet, and you can find the pattern here on ravelry.  This is my husband's favorite.

And there is my 'study in dish/washcloths'.
What are your favorite cloths?  Knit or crochet?  =)

Thanks for stopping by!

Monday, September 19, 2011

Baby Taggie Blanket ~ Tutorial

I have seen these ADORABLE taggie blankets all over the place.  I saw a few tutorials months ago, and I was too lazy to look them up when I made this.  I wanted to make one as a gift and (as usual) I decided to 'wing it'.  No joke, it took me about 20 minutes to make.

notes: These blankets can come in sizes ranging from 12 inch square to 20 inch square.  You decide how big!  I started mine with 16 inch square knowing it would finish a bit smaller.  If you go much bigger than 16 inches you should 'quilt' the blanket so the layers stay together. (You could just do two lines of stitching down the center of the width and the center of the length resulting in four 'squares'.)

Materials:
~ 16" x 16" Soft awesome fabric of your choice (minkie, flannel, satin... etc)
~ 16" x 16" fun print fabric
~ 16" x 16" Warm and White (or Warm and Natural) batting
~ assorted coordinating ribbons


I used this crazy soft fabric that's all swirly.  It feels like rabbit fur!
Cut your ribbons into different sized pieces.  They can range from 3 to 6 inches long.


Pin your ribbons where desired.  Be sure to match the raw edges of your ribbons with the raw edge of your fabric as shown!  (...notice how all of my pins are going in different directions...you should pin them like the two large ribbons on the bottom.  That way when you 'baste' the pins will be out of the way of your machine.)

note: If you are smart (i.e. not me) you will machine baste all of the ribbons to the right side of one of the single layers of fabric.  I was in a hurry and so I just left them pinned... it obviously took longer to sew together because I had to keep stopping and lifting up my other layers to find the pins hidden below.)


Layer your Fabrics as shown above.

Bottom layer ~ Right Side Up ~ Fabric with ribbons attached
Middle layer ~ Right Side Down ~ other pretty fabric
Top layer ~ Batting

EDIT Nov. 2013:  I have not made a ton of these and I would suggest changing the order a bit.  Minky is always annoying to sew with so I've been putting the Minky and in the middle.
Bottom layer ~ batting (this will agree with your feed dogs much better!)

Middle layer ~ Right side Up ~ Minky with ribbons attached
Top layer ~ Right Side Down ~ Pretty fabric. (this will also feed nicely under your presser foot)

As long as your pretty fabric and minky are Right Sides Together you will be all set!


Sew around the edges using a 5/8" seam allowance.  Make sure you are grabbing all layers.  LEAVE A THREE INCH hole in which to turn.  note: If you want, you can backstitch over each ribbon to make sure they are extra secure.

Trim seam allowance to around 1/4".
Clip corners.
Turn and use a bone folder or knitting needle to push the corners out.

Now it's all cute and puffy (shown above).


Topstitch with matching thread all the way around.  You should aim to sew 1/4 inch away from the edge.  Carefully pin your 'hole' and topstitch over catching all fabrics to secure.


Other side all topstitched


Oh, both sides!


Rolled up!  =)  I mean really? how cute is this!?!

Thanks for stopping by!

I would love to see your taggie blankets!!!  Post them to my Flickr Group!!
Sew Divertimento Divas

~featured on Sew Happy Geek~

Saturday, July 23, 2011

July FNSI{the car}


Here's my Friday Night Sew In {the car}. We drove from Kansas City to Champaign yesterday so I had a lot of time to finish my baby sock. It was my goal!!! I finished it and started another one. A couple weeks ago I set out to make some baby socks. Ravelry is the greatest!!! (Is there a quilt website like this??? If so, please tell me!!)

I've since gone through three different patterns in search of the easiest. =) I ripped this sock out quite a few times. I finally found a pattern I like. The heel turn is REALLY easy.


I got so excited that I was 'doing it right' that I did too many "knit, wrap, and turns" and had to undo a bunch. Of course, I didn't undo all of them so I have a beautiful hole in my sock (maybe it was meant to be lacy?)

It is a ribbed pattern, and at the end of the sock I figured out how to NOT make the ribs too wide where the DPNs meet. I did some online research. We'll see how the next one works.

Other than those things I feel like it was mostly successful. The toe is a bit pointy for my liking, but I think I know how to fix that for the next one. This yarn was just some cheap stuff I bought at Walmart. I have the nice stuff saved for when I can really get the pattern right. I knitted them using 4 DPNs size 2.


Sock Number Two!!

ALSO, Over the trip I knitted a bunch of booties that I LOVE. Here is the great bootie Pattern that I used!! The booties are gifts so I can't post them just yet!

Wednesday, June 8, 2011

Duck / Bunny

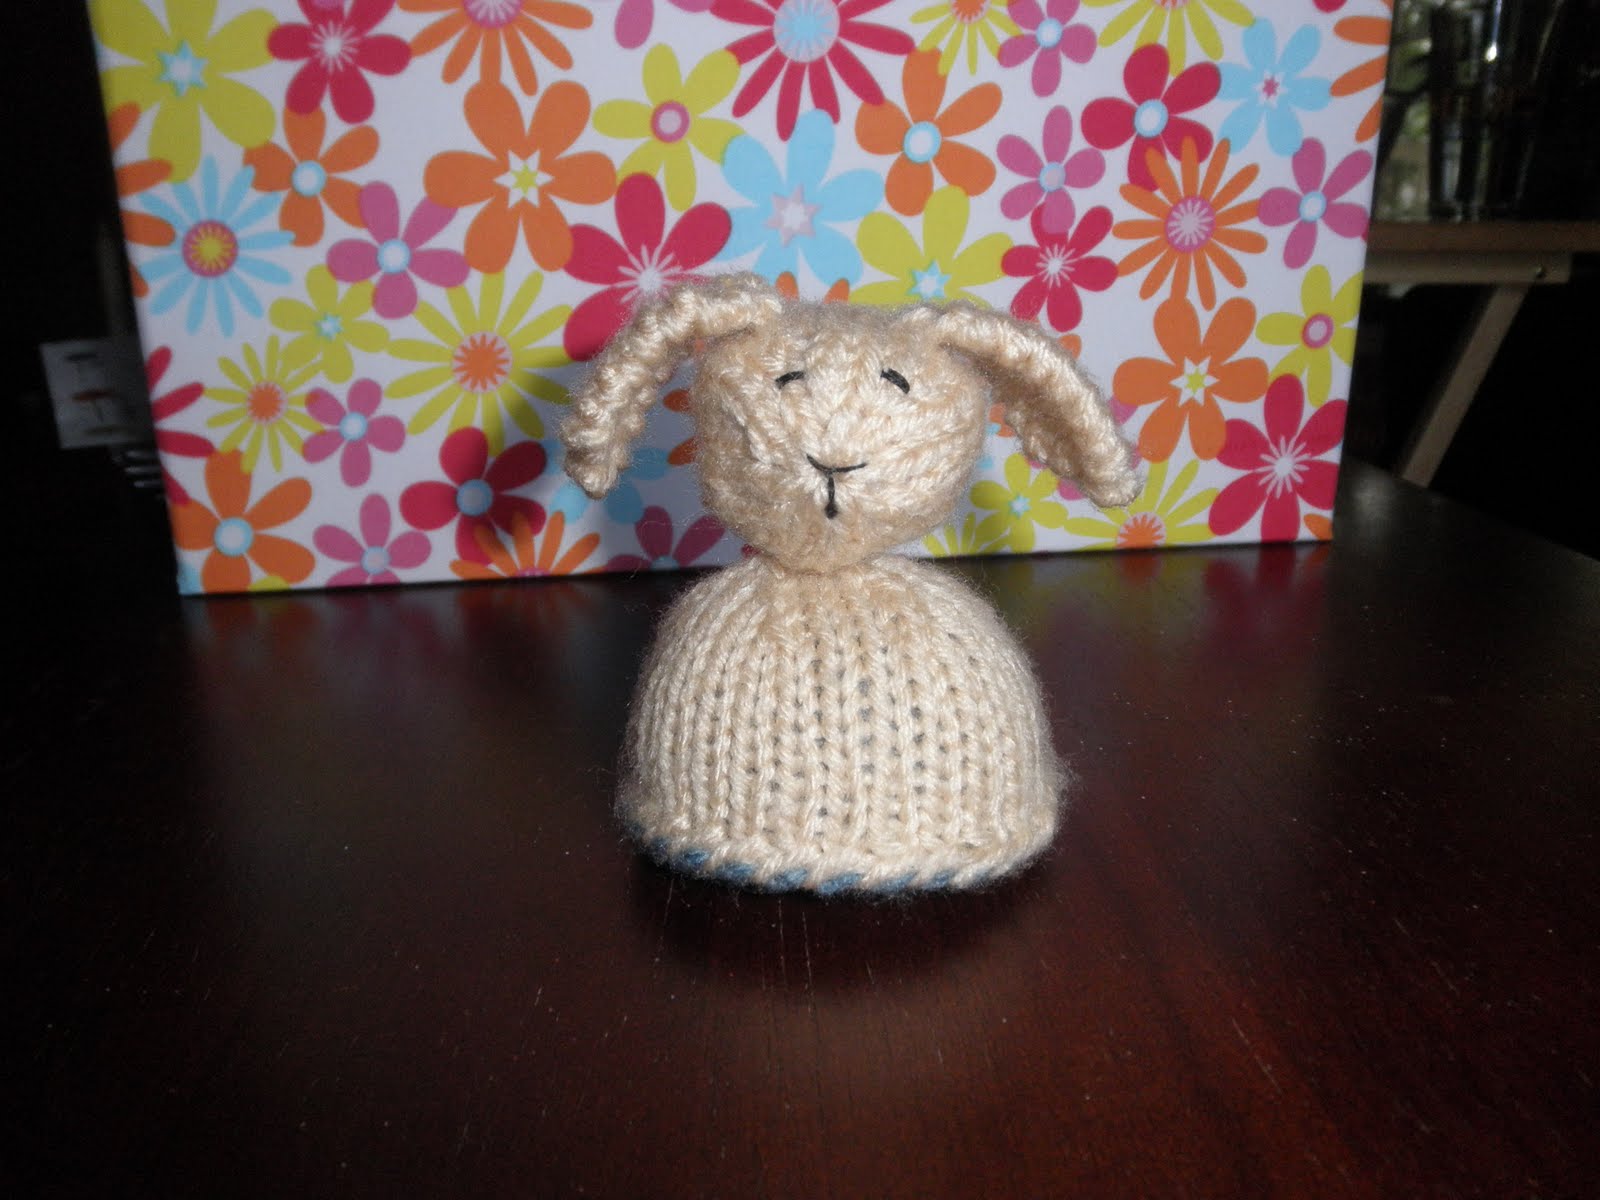
My sister and my husband's sister both graduated from college on the same weekend. The drive was a bit long and the ceremonies were great! I have been to many graduations in my time and so I brought a little project to do while the names were being read. I saw this great knitted toy on my friend A's blog and just had to make one!!! It proved to be the perfect little project for the car (and the graduation ceremonies!) The pattern is free at Spud & Chloe. It is a reversible knitted toy! One side is a duck and the other is a bunny!

The Bunny

The Duck

Friday, June 3, 2011

My Somewhat DIY Wedding (part 3 of infinity) : 'LOVIE' BLANKET

Our lovely niece was the flower girl for our wedding. She needed a special gift! I did some online searching of 'lovies' and 'blankies' and took notes from ones that I liked. Then I just went for it. I found THE SOFTEST fabric at the quilt shop. It is like rabbit fur in swirls! It's the main fabric in the picture below. It's so awesome that I bought a ton of it and just might make a lovie for myself!


She loved the feel of the satin flower so I decided to make the other side out of extra satin from the table runners that I made (will post in the future). I carried the satin over to the other side so there would be no seam on the edge. The satin was already cut into thin strips so I improvised and pieced a bit of flannel in the center. Good old SteamASeam and a satin stitch attached the felt "A" in the middle. All in all it worked out pretty well! =) The pictures really don't do it justice.

Monday, May 30, 2011

Baby Blanket

A bit of the color detail and pattern.


The whole blanket.


I made this baby blanket for my cousin. She hasn't received it yet, and good thing she doesn't know about my blog! This is THE SOFTEST yarn I have ever encountered. It's called Tinkerbell and can find it at Yarnmarket. The pattern came from a little booklet that I borrowed from a friend because I couldn't find it to purchase online. (She made the blanket for another friend of mine.) It was a pattern from the company that makes the yarn.