Thursday, December 20, 2012

Zipper pouches!


These are some gifts that I made recently.  I made a few different ones and then let the recipients pick out their favorite!  They were for my music students so for fun I put music fabric on the inside lining!  I LOVE making these little zipper pouches!  The possibilities are endless!


I love this fabric!  It's so sparkly!


Shouldn't everything have a yoyo on it somewhere?


I think I should have quilted this one with black thread.  Next time for sure!!


I had fun using my embroidery stitches on my Bernina on the handle of this pouch!  It looks really cool!


I get my zippers at The Zipperstop.  They are SO CHEAP if you buy them in bulk.  I only buy them in groups of 12, and they are even cheaper if you by them in groups of 100.   =)  Its fun to have a bin of zippers ready to go that were only 23 cents a piece.  


I have a ridiculous amount of music note fabric....


More fun lining!


YOYO!!


One of my favorite flowers to make!  =)


That's all for now!  Off to make Christmas Presents!

Wednesday, December 19, 2012

DIY Cake Stand / Serving Tray


On many, many blogs I see women making cool cake stands and serving trays.  I've being wanting to do one for a while now.  I finally did it!  


You just need a few things!

 A cup/candle stick
A pretty plate (or plates if you want to make a tiered stand)
E - 6000 Glue

I got the cup from Walmart for $2.  It's the Libby brand and very thick and sturdy.  I've seen others use candlesticks for this project and they turn out really pretty too!

I found the snowflake plate at Target for around $5.


Just run a line of glue on the rim of the cup, and press into the plate!!!  Let  it dry for 3 - 4 hours and that's it!


Tada!

I would love to see your cake stands! 
Post to Flickr, Sew Divertimento Divas

Monday, December 17, 2012

Cute Crochet Knotted Headbands!

My little sister texted me a picture of these cute headbands about a month ago.    Her friend found them on pinterest.  She asked me if I could make her friend one!!  

Luckily the picture did link to a great pattern.  You can get the pattern and info here from All About Amy.   

Well, I've been busy, but I finally made them!  This is an awesome quick pattern!  Not to mention that its super cute.  I'm definitely going to be making some with flowers soon!!!


Yay for happy and easy crochet headbands!!!  =)

Saturday, December 15, 2012

Sassy Christmas Apron....

Oh, Alexander Henry!!!  You always make me happy!  =)

I just couldn't resist this fabric as I saw it draped over the cutting table at Thimbles in Lockport.  I knew I had to make a Christmas apron for my mom, and one for me!!!!

My mom's has pockets, and it looks really cute (not pictured).  I was making mine 10 minutes before my company arrived (shocker) so mine doesn't have pockets!  I might put some on... or I might not.  Thoughts?  There are so many pretty 'faces' that I wouldn't want to cover up!  =)


I used my very favorite apron pattern from Bee in My Bonnet : One Yard Apron.


Yep, too funny.  At least I can always count on Alexander Henry for great prints!

Clothespin Magnets for the Fridge!

I get tired of boring magnets, especially ones with boring phone numbers or ads on them... you know, you get them for free and then they end up on the fridge.....

I decided to spice things up a bit!


These are crazy easy to make!!!

First!
Get your basic supplies:  
Bare clothespins
Thin magnets that are sticky on one side
Good old Elmer's Glue (or your favorite glue)!

Second!
Go to Target and get yourself some fun packages of 'washi tape'.  They come in packages of four by color.  I use them for everything now.....


Lastly!
Gather up anything else that might be fun to decorate your clothespin.

~ Yoyos ~
~ Flowers ~
~ Scrapbooky fun papery things (none pictured)~
~ Rhinestones ~


Directions to make them!

First, stick your desired tape onto the front of the clothespin... depending on the width of your clothespin you may need to trim the width of the tape.

Second, trim and stick your magnet on the other side!

(Pretend the picture below doesn't already have a yoyo on it.)


 Lastly, DECORATE!!!!

I used Elmer's glue and it worked great, although I had to sit there and 'hold' the yoyo and flower onto the clothespin until it was tacky.  I'm pretty sure that hot glue would have worked better, but that seems like more work... I mean you have to plug it in and get the glue stick... yep, I'm lazy.


I'm going to be making more today!!!  =)  These make great holiday gifts too!  Quick and easy.

Tuesday, October 30, 2012

Kid's Apron and Chef's Hat!!!!!!


I LOVE THESE SO MUCH!  This set is quite possibly one of the cutest things I've made to date.  =)  When I was up north at my Grandma's we were looking at kid aprons and we found these.  I was so excited because I wanted to make one for my niece.  While looking around for apron patterns we stumbled upon a chef's hat.  HOW CAN ANYONE PASS UP A CHEF'S HAT?  I do realize its possible I'm more excited about this than my niece will be, but I'm okay with that!  =)

Here are the fabulous patterns!!!

Apron from Living with Punks; Mini Me Apron Set

Chef Hat from Stardust Shoes for Michael Miller; Chef's Hat


The patterns are very well done and don't need any extra explanation.  I only did a couple things differently.  For the apron I edge stitched the entire apron, not just the bottom.  Also, I didn't have any elastic thread on hand so I just sewed on some flower buttons to the pockets.  For the Chef's Hat I finished the inside edge with my serger rather than the binding and it worked great.


I just can't get enough of the Michael Miller cupcake fabric!  It's too cute!  I used some other pink fabrics that I had in my stash to complete the set.  For fusible interfacing I used Pellon 911FF for the Chef's Hat band.  It was what I had in my craftroom and it was perfect!  Exactly the right weight, in my opinion.


 The apron is lined too!

I love the pleats!
 

It's adjustable so she'll be able to grow into it!

I might have to make one for my husband!!!  =)  As soon as I showed him the hat he started doing an impression of the the Swedish Chef from the muppets.

Sunday, October 28, 2012

100th Post : Meet Harmony!

Welcome to my 100th blog post!!!!!!!!!!!!!  It's definitely a special one!

 I never thought I would ever own a fancy sewing machine.  My Mom has one and I always loved sewing on it when I was younger.  My Grandmother always talked about how she wished she had one even though she does like her Husqvarna.  I always looked at them at the quilt shop, and just figured I'd get one 'someday.'  Well, an awesome financing deal came up, and (with the wonderful support of my husband) I bought a ......


I bought the 550 QE from Thimbles in Lockport, IL.  They were great!  They have classes on how to use it that will be coming up once they get back from Quilt Market.  When I picked up the machine one of the lovely ladies took the time to show me a few things I should know before I get started!

 Here is the unveiling.  Yes, its a ridiculous amount of pictures and if you don't want to continue reading I understand.  For those of us who are crazy about Bernina, read on.  =)

 
 Opening the box!  There's my tray table and a bunch of other goodies!
 (It was late and my flash kept making everything look worse, so the pics are a little dark.  Maybe someday I'll learn to use a camera.)


The top of the machine still in the box!

Accessories!!!!!!


Some great colors of mettler thread.


BSR!!!!!!!!!!!!!!!!!!!!!!!!!!!!!!!!!!!!!


WALKING FOOT!!!!!!!!!!!!!!!!!!!!!!!!!!!!
 

Case to hold all my feet and stuff!


Fun accessories and feet.
 

Carrying bag for the machine itself!


TADA!
Meet Harmony!!!

Yes, that's what I named her.  I know its a bit corny, but when I was thinking of what to name my machine this word just kept popping in my head.  I have never named an object before... my cars or clarinets don't have names.  I felt pretty strongly that the Bernina had to have a name!
Harmony it is!


LCD screen and control buttons.


Beautiful light!!!!


I did have to rearrange everything.  My 1970s White is in the beautiful cabinet that you see.  I decided to put Harmony on top because I love the height and sturdiness of the table.  Plus its fun to know that my trusty White is right below if I should need it.  I've been looking for a place to put my iron and I wanted the accessories close by.  This little end table we have did the trick!

 
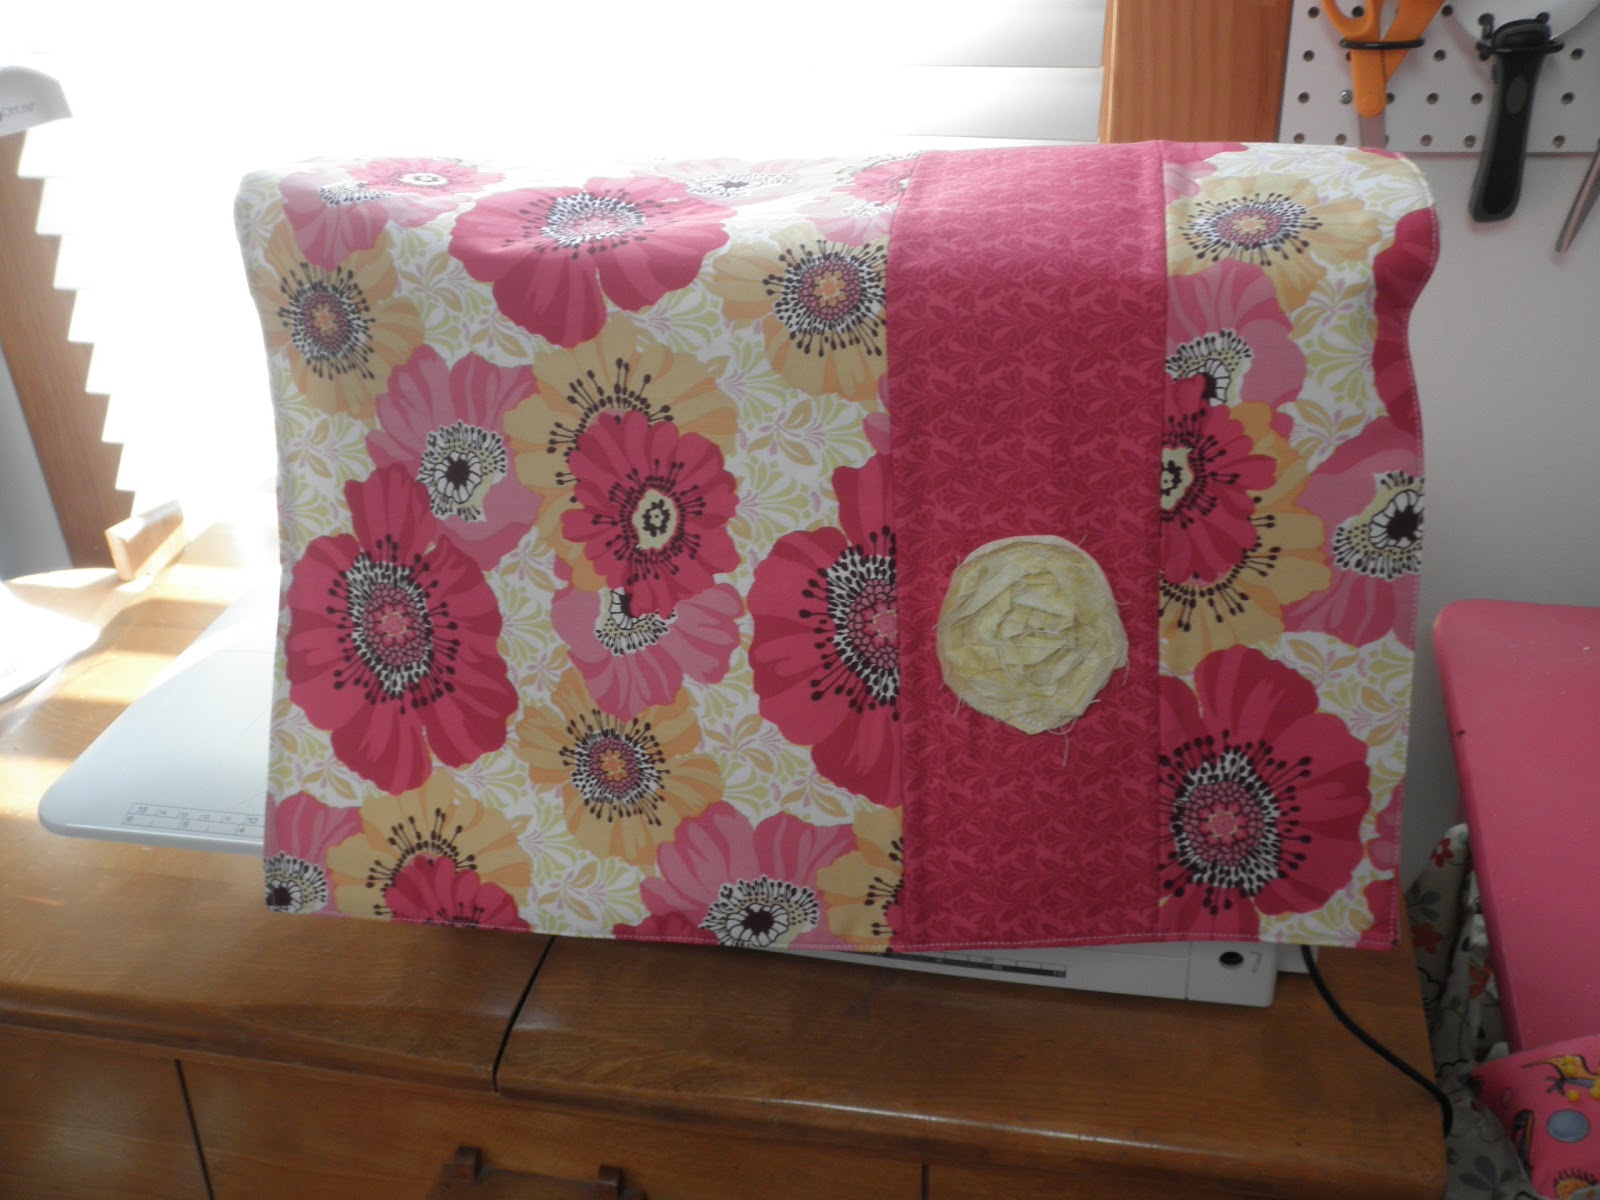
 When I first told people I was buying this machine they all asked, "What will you make first?"  I decided the best thing to make first was a sewing machine cover for her!  =)  I made it right after we took her out of the box.
I LOVE this poppy fabric! 


It stays on with the help of a cute ribbon that I tacked down on each side.


I adorned it with one of my favorite flowers.  You can get instructions on how I made this flower here.


Okay! Off to sew!!!